Restaurant POS cost is the total amount you spend to put ordering, kitchen work, payments and reporting into daily service. Start with the software quote, then add the devices, payment fees, set-up time and any separate tools your restaurant still needs. A useful budget shows what you pay to start, what changes with sales and what it costs to run after the first year.
The simplest way to compare options is to map the system around one real service. Follow an order from a table through the kitchen and payment, then check the record in the office. The full service walkthrough shows the questions to ask at every hand-off.
| Cost line | What to enter in your worksheet | What to ask during a demo |
|---|---|---|
| Software | Subscription, location fees and paid modules | Which screens and workflows are included? |
| Devices | Phones, tablets, stands, printers and replacements | Which devices can we already use? |
| Payments | Processor charges, terminal rental and refunds | Which fees change with card volume? |
| Set-up | Menu entry, floor plan, staff training and data migration | Who completes each task before opening? |
| Ongoing work | Support, connectivity, supplies and maintenance | What happens during a busy shift or an outage? |
What goes into restaurant POS cost?
A software price is only the first line. Record the billing period, how many restaurant locations it covers and whether you need separate modules to run online orders, stock or staff access. Then list the hardware needed at every point of work. A waiter may use a phone, the kitchen may use a tablet or display, and a counter may need a printer or payment device.
Next, put payment processing into a separate row. Transaction fees often depend on the provider and payment method, so use the agreement for your own restaurant rather than a generic number from a blog. Keep card fees, terminal rental, refunds and any payout charges visible. The billing guide follows a bill through splits, payment methods and closing records.
Finally, allow for the human work. Someone needs to enter the menu, check tax settings, draw the room, assign staff permissions and run a rehearsal before service. The set-up guide makes those tasks concrete. If a tool requires separate exports or re-entry between screens, include that work in the budget too.
Build a first-year budget without guessing
Use a worksheet with your own quotes. Keep one-time costs separate from monthly costs, and multiply only the items that genuinely recur. Add a notes column for assumptions that have not been confirmed. A restaurant with several locations should repeat the worksheet for each location before combining totals.
| Line | One-time amount | Monthly amount | Your evidence |
|---|---|---|---|
| Software and required modules | Enter any onboarding charge | Enter the quoted subscription | Written quote or pricing page |
| Devices and accessories | Enter purchases and set-up | Enter rental or replacement allowance | Inventory of devices you own |
| Payment processing | Enter terminal purchase if needed | Enter provider estimate based on your sales mix | Processor agreement |
| Training and launch | Enter team hours and migration work | Enter any continuing support charge | Staff plan and support terms |
| Other tools | Enter connection or migration costs | Enter tools you still retain | Current subscriptions |
Add the one-time column to the recurring column multiplied by the months in your planning period. Keep the payment estimate separate because it changes with sales. This does not require a prediction about how much a new POS will earn. It gives you a grounded cost that an owner can check against the quote and a manager can update after a few weeks of use.
Use the service workflow to find hidden work
Ask a waiter to open a table, add a dish with a choice and send it. Watch what appears on the floor screen and the kitchen display. Then have a guest add a second order through the table QR menu. Can the team find both orders without copying details between systems? The answer affects staff time and the number of tools you need to keep.
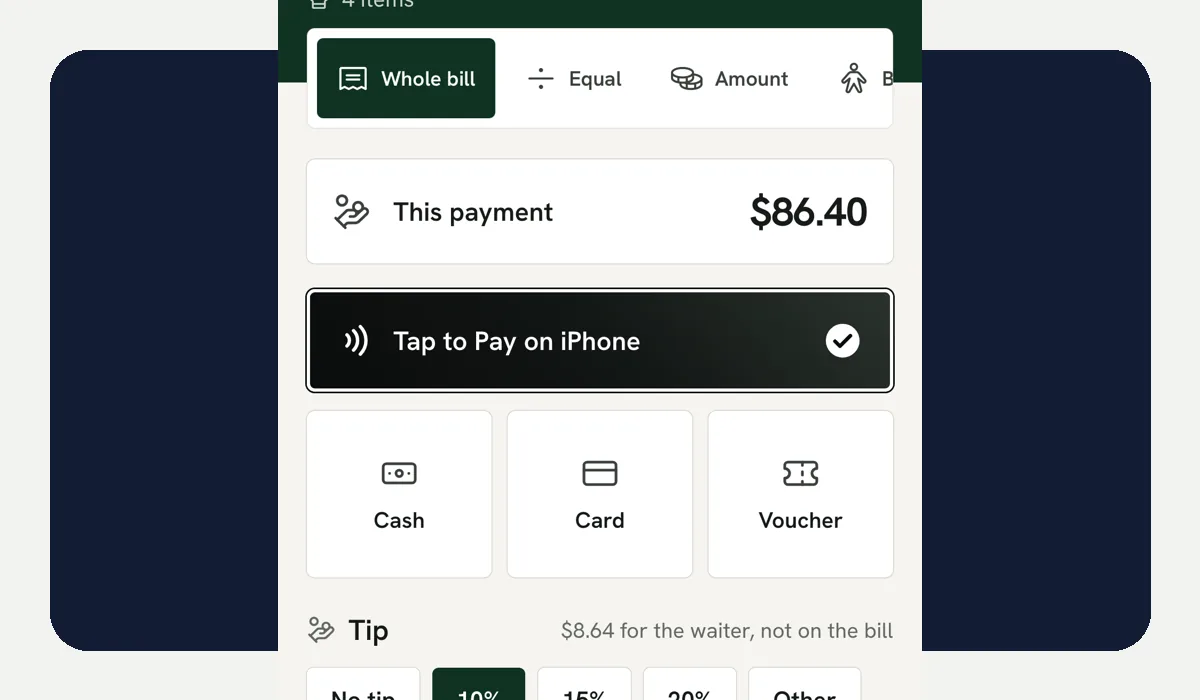
Continue through payment. Split the bill the way your guests normally ask, record a cash or card payment, and find it in the office payment view. If the room is busy, repeat the exercise with a takeaway order. A cheap subscription can become expensive when the team has to reconcile several disconnected records at closing.
For food and stock, pick a dish whose ingredient cost you know. Ask how a sale updates the recipe and stock records, then check the inventory workflow. This helps you decide whether a separate stock product is still necessary. Only count a saving when you have confirmed the workflow and your team will actually use it.
Choose devices around the room
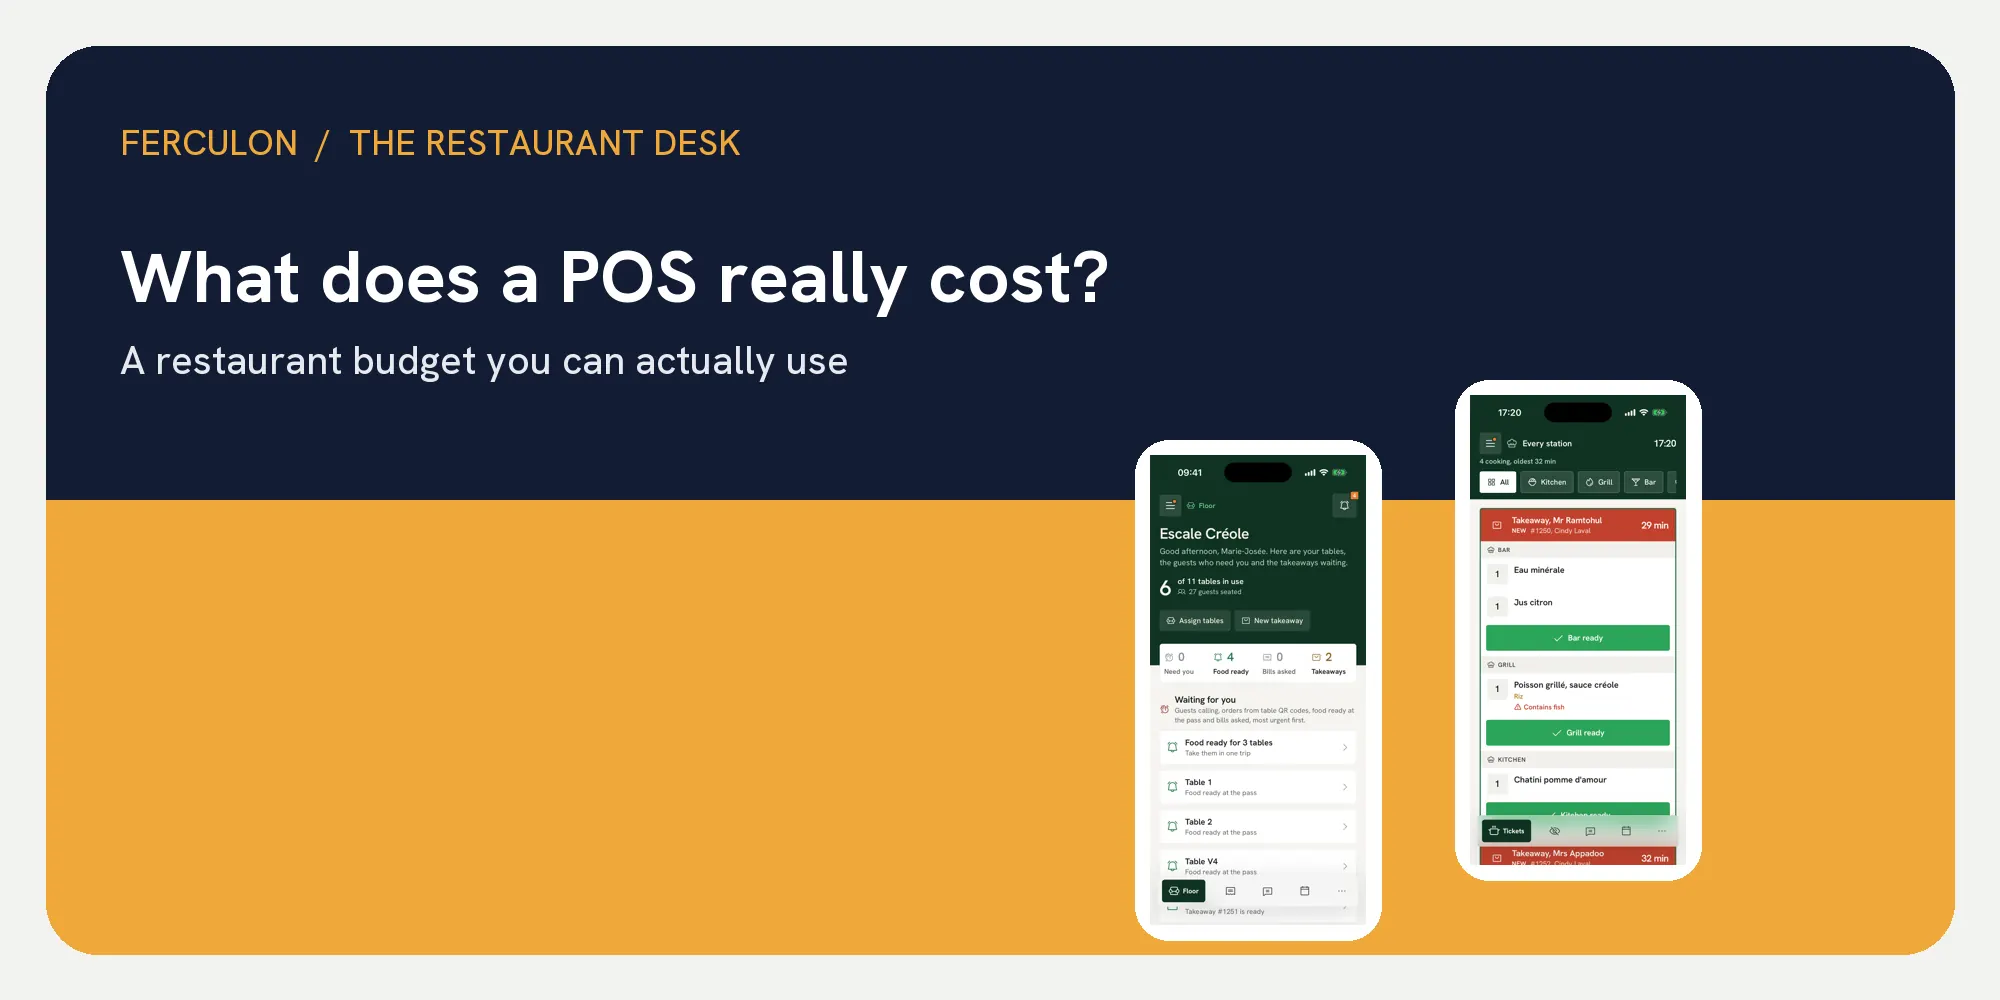
Walk the dining room, pass, counter and office. At each point, note the person, device, connectivity and printer requirement. Ferculon shows a connected restaurant workflow across these roles, with a waiter app and kitchen display visible in its demo. You can assess the workflow using the devices your team already owns before deciding what else to buy.
- Dining room: A phone or tablet at the table must be comfortable for taking orders and settling bills.
- Kitchen: Place the display where cooks can read incoming tickets while working.
- Counter: Check the payment device, receipt printing and takeaway hand-off.
- Office: Confirm that the person closing service can find paid orders, payments and stock without another export.
Do not assume that every device must be replaced on day one. Test screen size, battery life, Wi-Fi coverage and printer placement in the actual room. The order tracking guide shows where staff need to see the order as it moves through service. Any device purchase should solve a task that the rehearsal exposed.
Compare quotes on the same terms
When you have two quotes, put them into the same worksheet. Compare the same number of locations, devices, payment mix and required functions. If a module is included in one quote and extra in another, put it in the corresponding row. A short, consistent comparison is easier to revisit than a folder of glossy feature sheets.
- Use your current menu. Include a dish with options, a sold-out item and a price change.
- Run one busy service. Open tables, send orders and mark dishes ready.
- Settle several ways. Split one bill and check the recorded methods.
- Close the shift. Find the orders, payments and any till difference.
- Update your worksheet. Add only the equipment and paid tools the tested workflow needs.
The engineering guide explains why the connections between these screens matter. For Ferculon, the pricing page is the place to check current plans and what each includes. Use that page and your own processor agreement to fill in the numbers, then keep this worksheet beside the demo notes.
Questions people ask
How much does a restaurant POS system cost?
The total depends on the software quote, devices, payment processing, set-up work and any other tools your restaurant keeps. Put one-time and recurring amounts in separate columns, then add your own provider terms.
What costs are easy to miss in a POS quote?
Check payment processing, terminal rental, receipt printers, menu migration, staff training, support and additional modules. A rehearsal through ordering, kitchen work and closing shows which items your restaurant actually needs.
Can existing phones and tablets reduce the initial cost?
They may, if the software supports them and the devices work reliably in your room. Test screen size, connectivity, battery life and the tasks each staff member performs before removing hardware from your budget.
Should payment fees be included in the first-year budget?
Yes. Keep them as a separate variable line because they change with sales volume and the payment methods guests use. Use the rates in your own processor agreement.
Where can I find Ferculon pricing?
The current plans are listed on the Ferculon pricing page. Use that page alongside your device inventory and payment provider agreement to build a budget for your restaurant.